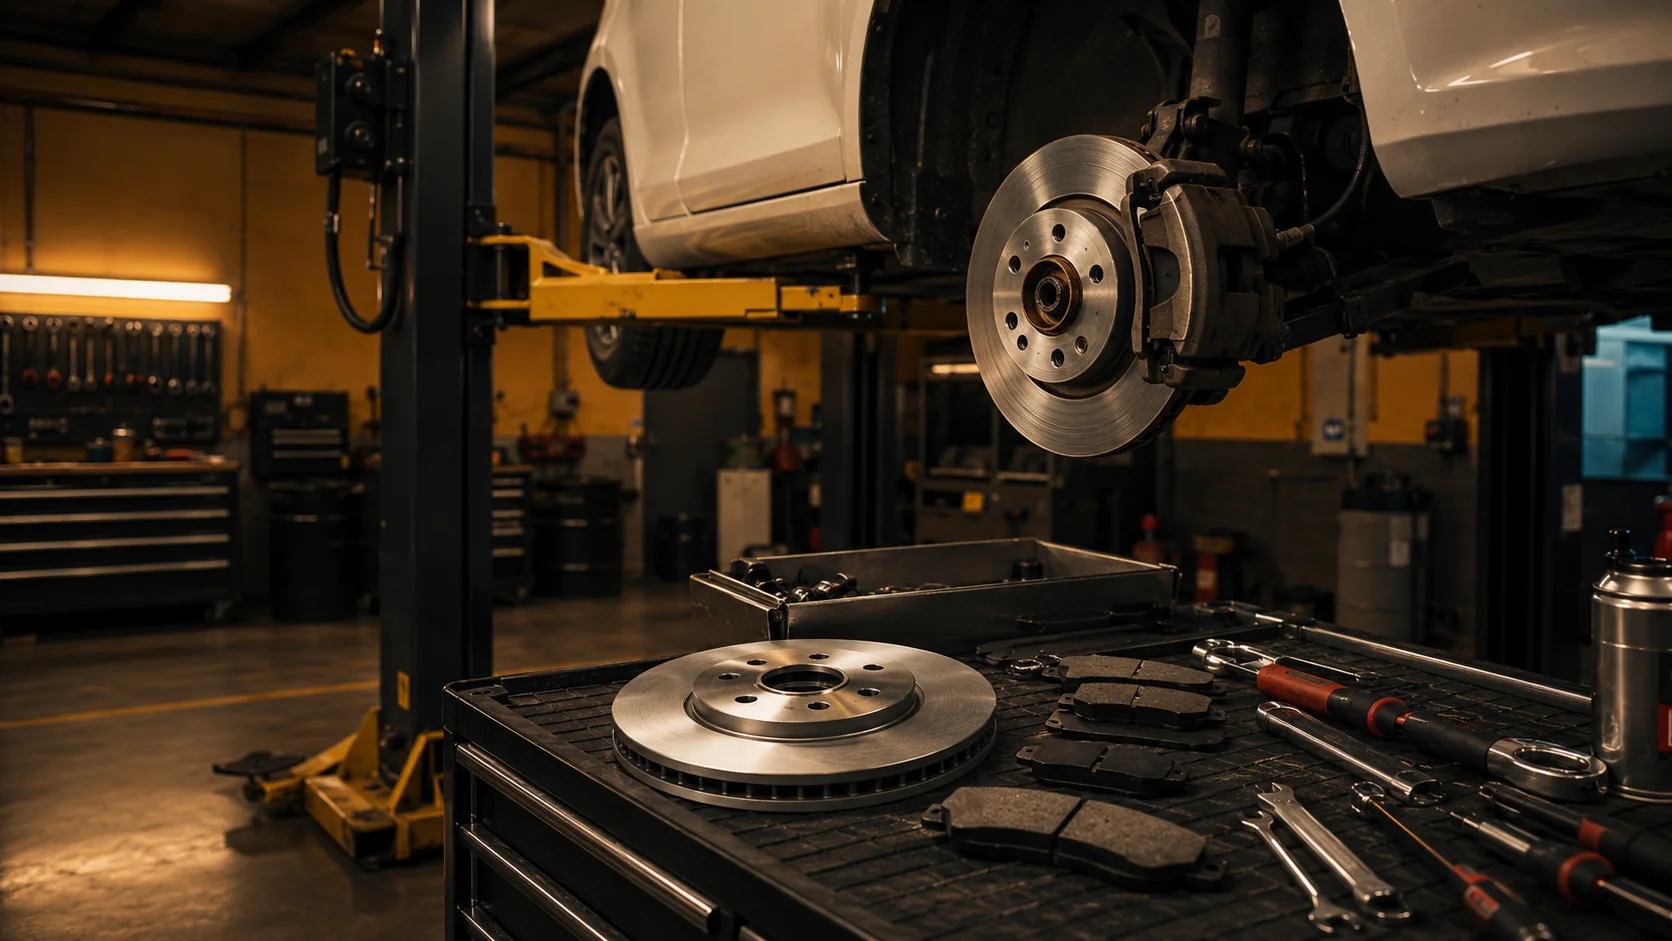





Changing brake pads and discs yourself on a lift is a realistic job for a reasonably handy driver — it usually takes 1–2 hours per axle and lets you save on labour, the most expensive item on a service bill. You need a bay with a lift, basic tools, new pads and discs and a bit of care, because brakes are a system with no room for compromise. Below you'll find the full package: wear symptoms, a list of tools and parts, the step-by-step procedure and the most common mistakes. You can do all of it legally and under a mechanic's eye at our hourly workshop on Grabiszyńska 241 in Wrocław.
Brakes are about safety
If you're not sure about any step, ask a mechanic for assistance. A badly assembled brake system is a real danger on the road — better to ask than to guess.
When to change pads and discs?
The most common signs the brakes are due for replacement:
- A squeal or metallic grinding when braking — often the pad's wear indicator rubbing against the disc.
- A longer stopping distance and a “soft” pedal.
- Vibration or judder in the steering wheel when braking — usually warped or worn discs.
- The pad-wear light coming on (in cars with a sensor).
- A visibly thin friction layer — a pad below about 3 mm is due for replacement, and a clear “lip” or grooves on the disc mean it's finished.
A practical rule: pads and discs are changed in pairs across the whole axle, and discs are best done together with pads if they're worn or near the thickness limit. New pads on an old, worn disc will wear out fast and won't brake well.
What to prepare — tools and parts
- New pads and discs matched to the car model (per axle, a set).
- A set of wrenches and sockets, a torque wrench for correct tightening.
- A caliper piston rewind tool (rear brakes with an electronic handbrake often need a scanner).
- A wire brush, brake cleaner, grease for the slide pins and pad contact points.
- A wrench for the caliper slide-pin bolts, possibly an Allen key or Torx.
- Gloves, goggles and a torch — handy during the inspection.
Electronic handbrake
In many newer cars the rear caliper must be put into service mode with a scanner before you rewind the piston. Without it you'll damage the mechanism. At the bay we'll help connect the diagnostics.
Changing pads and discs step by step
- Set the car on the lift, engage a gear and secure it, and loosen the wheel bolts before raising it.
- Raise the car, take off the wheel and assess the state of the pads, discs and brake hoses.
- Undo the caliper slide pins and remove the caliper. Don't let it hang on the hose — support it or hang it on a hook so you don't strain the flexible brake hose.
- Take out the old pads, and if you're changing the disc — undo the carrier and slide the disc off (sometimes there's a retaining screw to remove).
- Clean the hub and disc mounting face of rust with a brush and fit the new disc (factory-coated in oil — wash it with brake cleaner).
- Rewind the caliper piston with the tool (or a scanner for an electronic handbrake), apply a thin layer of grease to the slide pins and pad contact points.
- Fit the new pads, mount the caliper and tighten the slide pins with a torque wrench to the model's spec.
- Refit the wheel, lower the car and tighten the bolts crosswise to the correct torque.
- Before driving, press the brake pedal several times until it firms up — the pads must seat against the disc.
- Bed the brakes in: for the first 200–300 km brake gently and avoid hard stops so the friction material “beds in”.
The most common mistakes when doing it yourself
- Hanging the caliper on the brake hose — risks damaging it and leaking fluid.
- Skipping the slide-pin lubrication — the caliper will start to seize and the pads will wear unevenly.
- Fitting new pads on a worn disc — fast wear and weak braking.
- Under- or over-tightening bolts without a torque wrench.
- Driving off without “pumping” the pedal and without bedding the brakes in.
- Forgetting the service mode on an electronic handbrake.
How much does changing pads and discs cost — yourself vs at a service centre
At a service centre the labour alone is roughly 100–200 zł per axle, plus a parts mark-up. Doing both axles yourself at an hourly bay, you pay only for the rental (usually 40–80 zł/h) and your own parts. The real saving is most often 200–400 zł on a set, and more on pricier cars. On top of that, you know exactly which parts went into your car.
Do it legally and on a lift
At a self-service bay you have a lift, tools, compressed air and a mechanic nearby, and you leave the worn discs and pads for legal disposal. No need to improvise in a garage or in the yard.
Where to change brakes yourself in Wrocław
At the Brutalny Podnośnik self-service zone on Grabiszyńska 241 you can rent a bay with a lift by the hour and change the pads and discs yourself, under a mechanic's eye. If you'd rather leave it to a specialist, or you hit a seized caliper or another snag, our mechanics will take over. Before you come, also check the lift rental prices to pick the number of hours.
Can I change pads and discs myself with no experience?
With basic technical skill, yes — it's one of the most common DIY repairs. It's best to do it the first time under a mechanic's eye, who'll advise and check the assembly. Brakes are about safety, so better to ask than to guess.
How long does changing pads and discs yourself take?
Usually 1–2 hours per axle, depending on the model, the state of the bolts and whether you're also changing the discs. For a first visit it's worth adding a time buffer.
Do I have to change the discs together with the pads?
Not always — if the discs are in good shape and have thickness to spare, new pads will do. When the discs have a lip, grooves or are below the minimum thickness, they're changed together with the pads, a set per axle.
What about the electronic handbrake?
In many newer cars the rear caliper must be put into service mode with a scanner before you rewind the piston. At the bay we'll help connect the diagnostics so you don't damage the mechanism.
Why do the brakes need bedding in after replacement?
New pads and discs need to “match” to each other. For the first 200–300 km brake gently and avoid hard stops — that way the friction material seats evenly and the brakes reach full effectiveness.

Change pads and discs yourself on a lift
Rent a bay by the hour — with a lift, tools and a mechanic nearby.